Accessing Your New Cloud VPS from The Client Area:
Step 1: Log into your Client Area:
- Click on the "Login" or "Client Area" option.
- Enter your email and password to log in.
Step 2: Locate Your Cloud VPS:
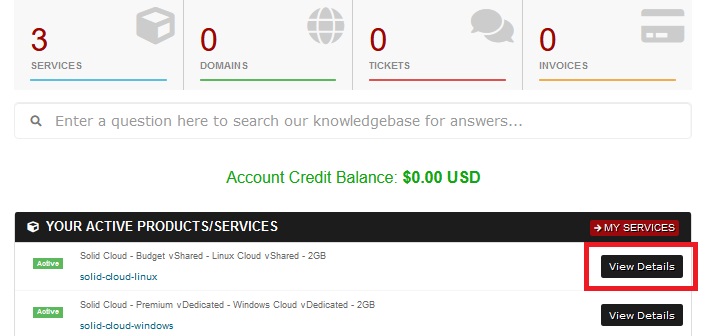
- Once logged in, navigate to the dashboard or the section related to your services.
- Look for your Cloud VPS instance in the list of services or products associated with your account.
Step 2: Access VPS Management Panel:
- Click on your Cloud VPS service to access the management panel.
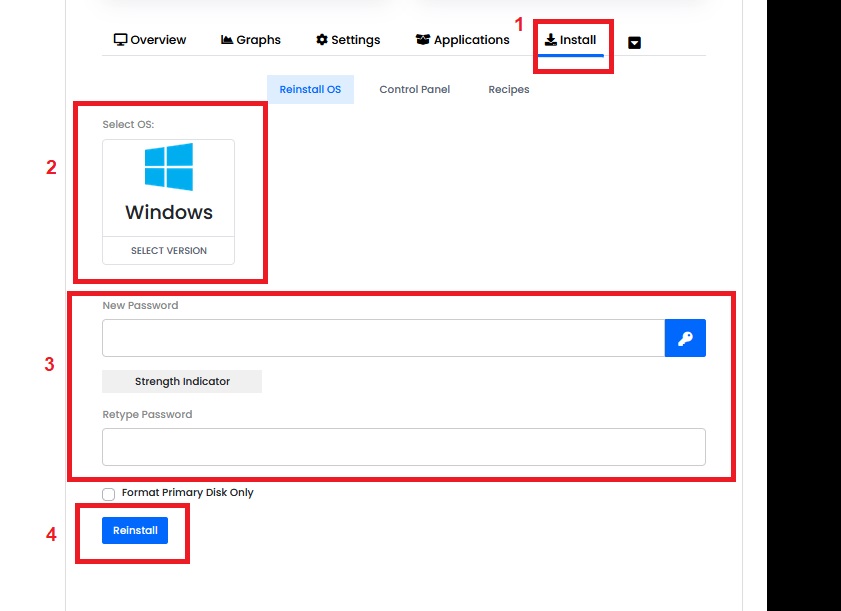
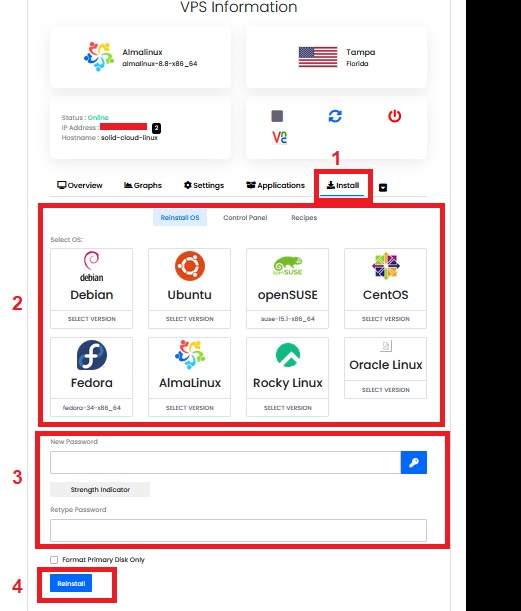
- Click on the "Install" tab and choose your preferred OS, type in the new password, confirm the password then click re-install.
- Allow a few minutes for the OS reload to complete and you will prompt once it is ready, the steps are the same for both Linux & Windows per the examples below:
Linux OS Reload Example:
Windows OS Reload Example: